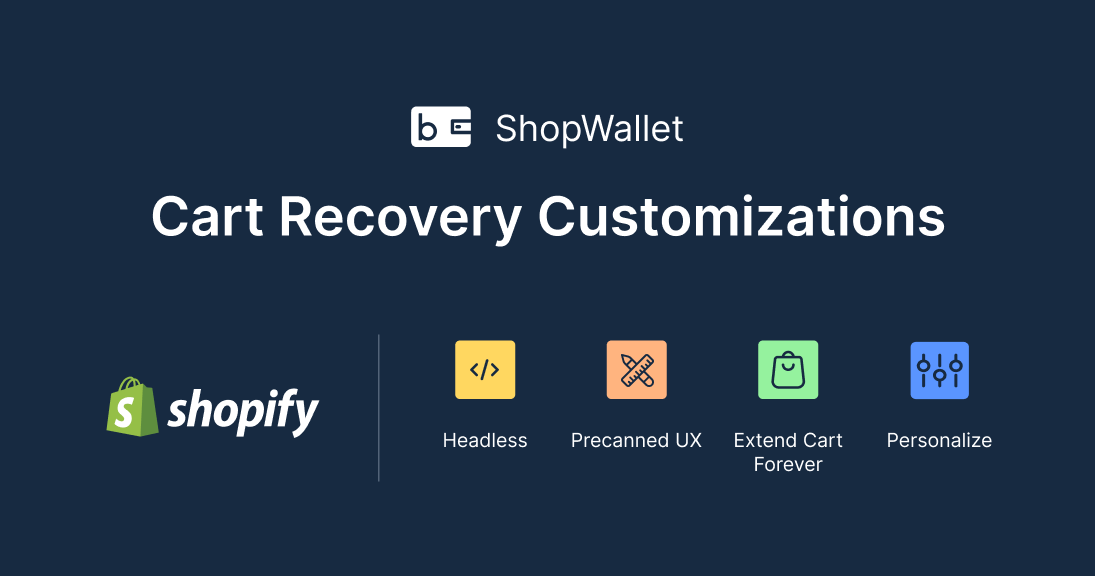
ShopWallet was built from the ground up for modularity, anticipating the need for merchants to control the user experience and their specific use cases. For most cases, ShopWallet works out of the box and allows you to configure its look and feel using the channel configuration form; Cart Recovery is a great example of this.
To customize its appearance, the Recovery Popup allows configuring its theme through a set of tokens provided in the form:
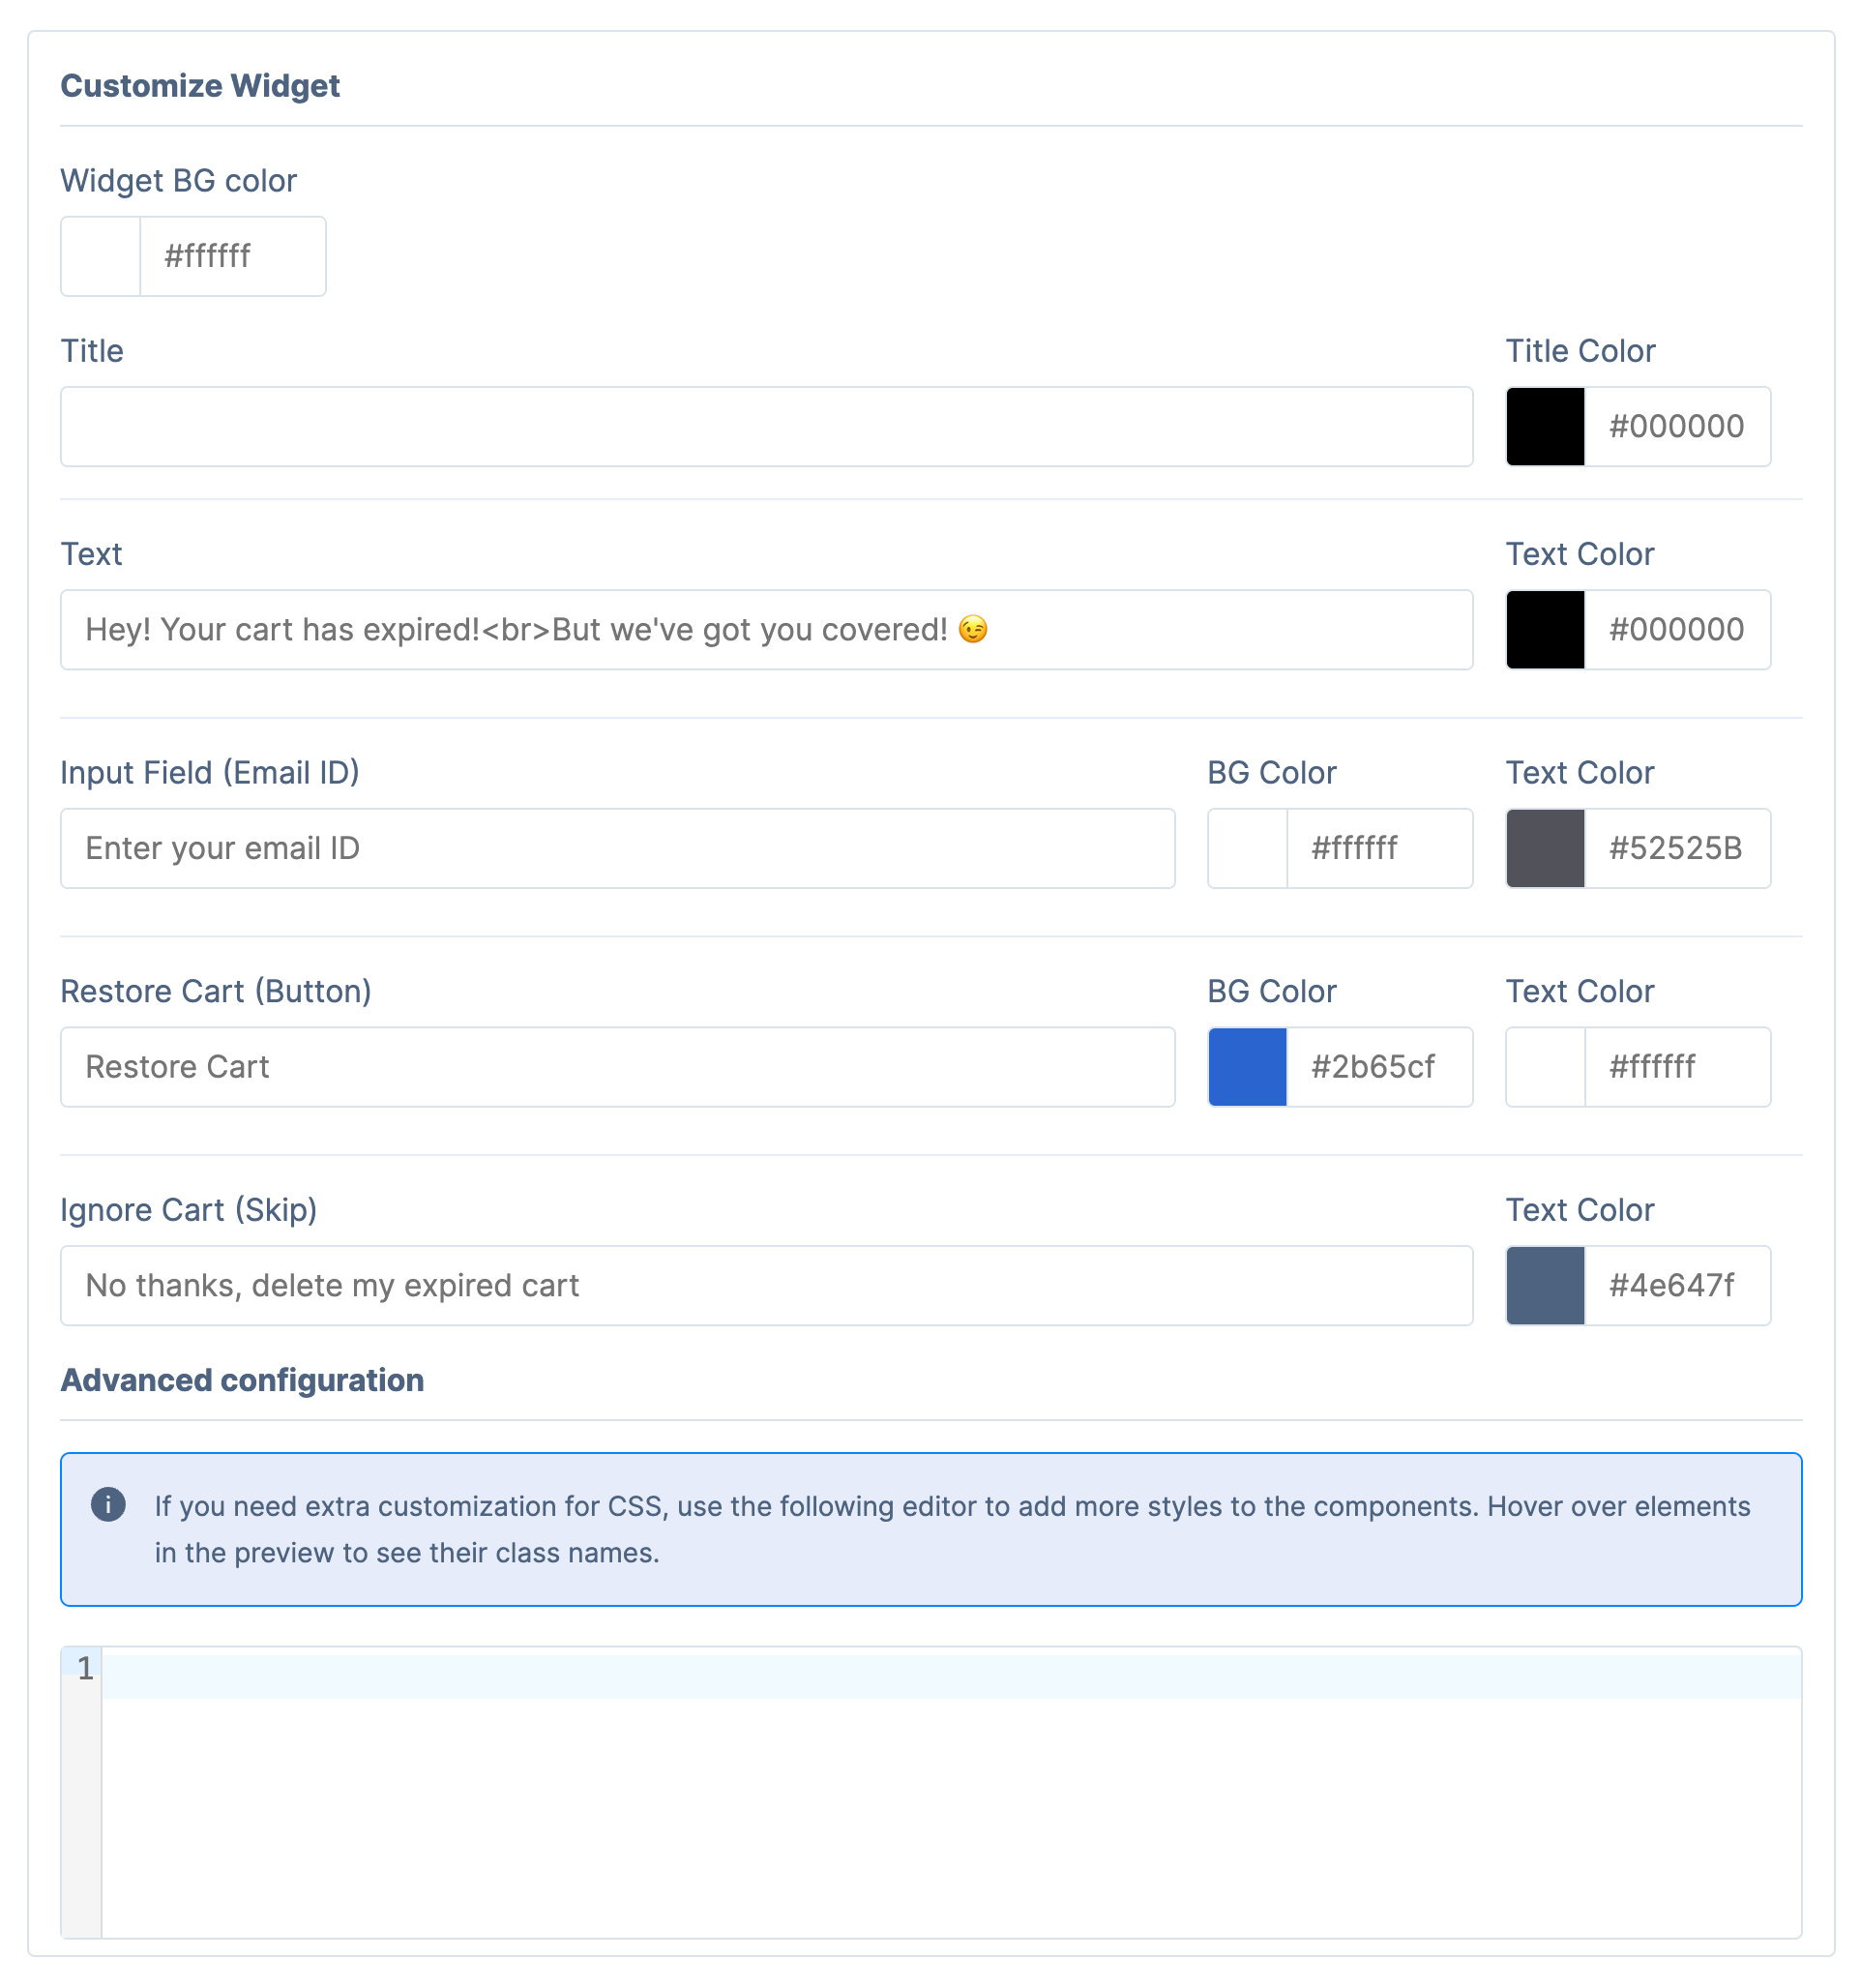
This allows swapping out copy for your own particular brand of communication and makes the popup fit better to your overall color scheme.
Previewing the Popup on Your Website
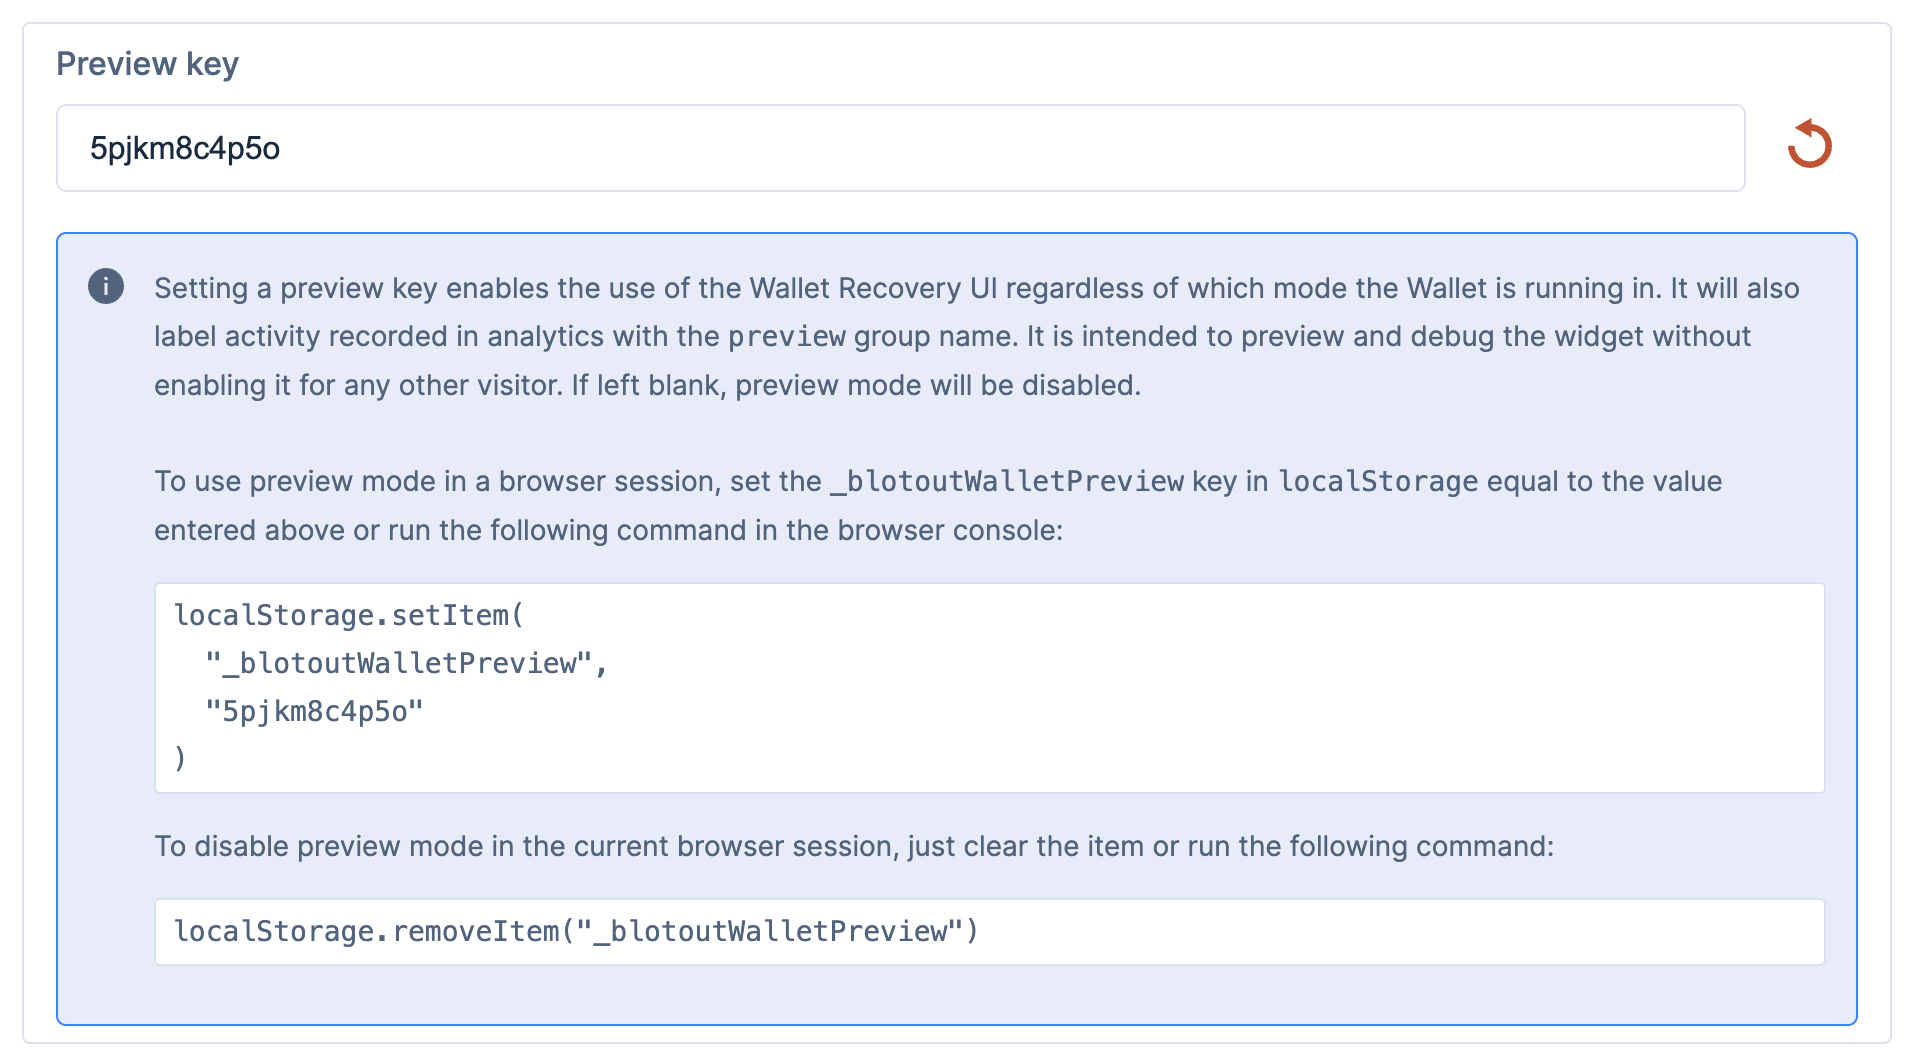
When preparing to launch the recovery popup on your site, you can switch to Preview Mode which enables you to set a preview key in your current browser session to enable the popup without affecting the rest of your users. When Shop Wallet is switched to Preview Mode, the form displays instructions on how to set the preview key:
After copying and running this snippet on your page inside Dev Tools, reloading the page should show the following line in the console to confirm the preview key works:

Figure: Console log demonstrating the preview key being active
With the preview key in place, we can try out cart recovery by adding an item or two to our cart and then deleting the cart cookies to simulate the cart expiring. We can do this by opening Dev Tools → Application and locating our shop domain's cookies. For typical Shopify stores this would be the cart* cookies:
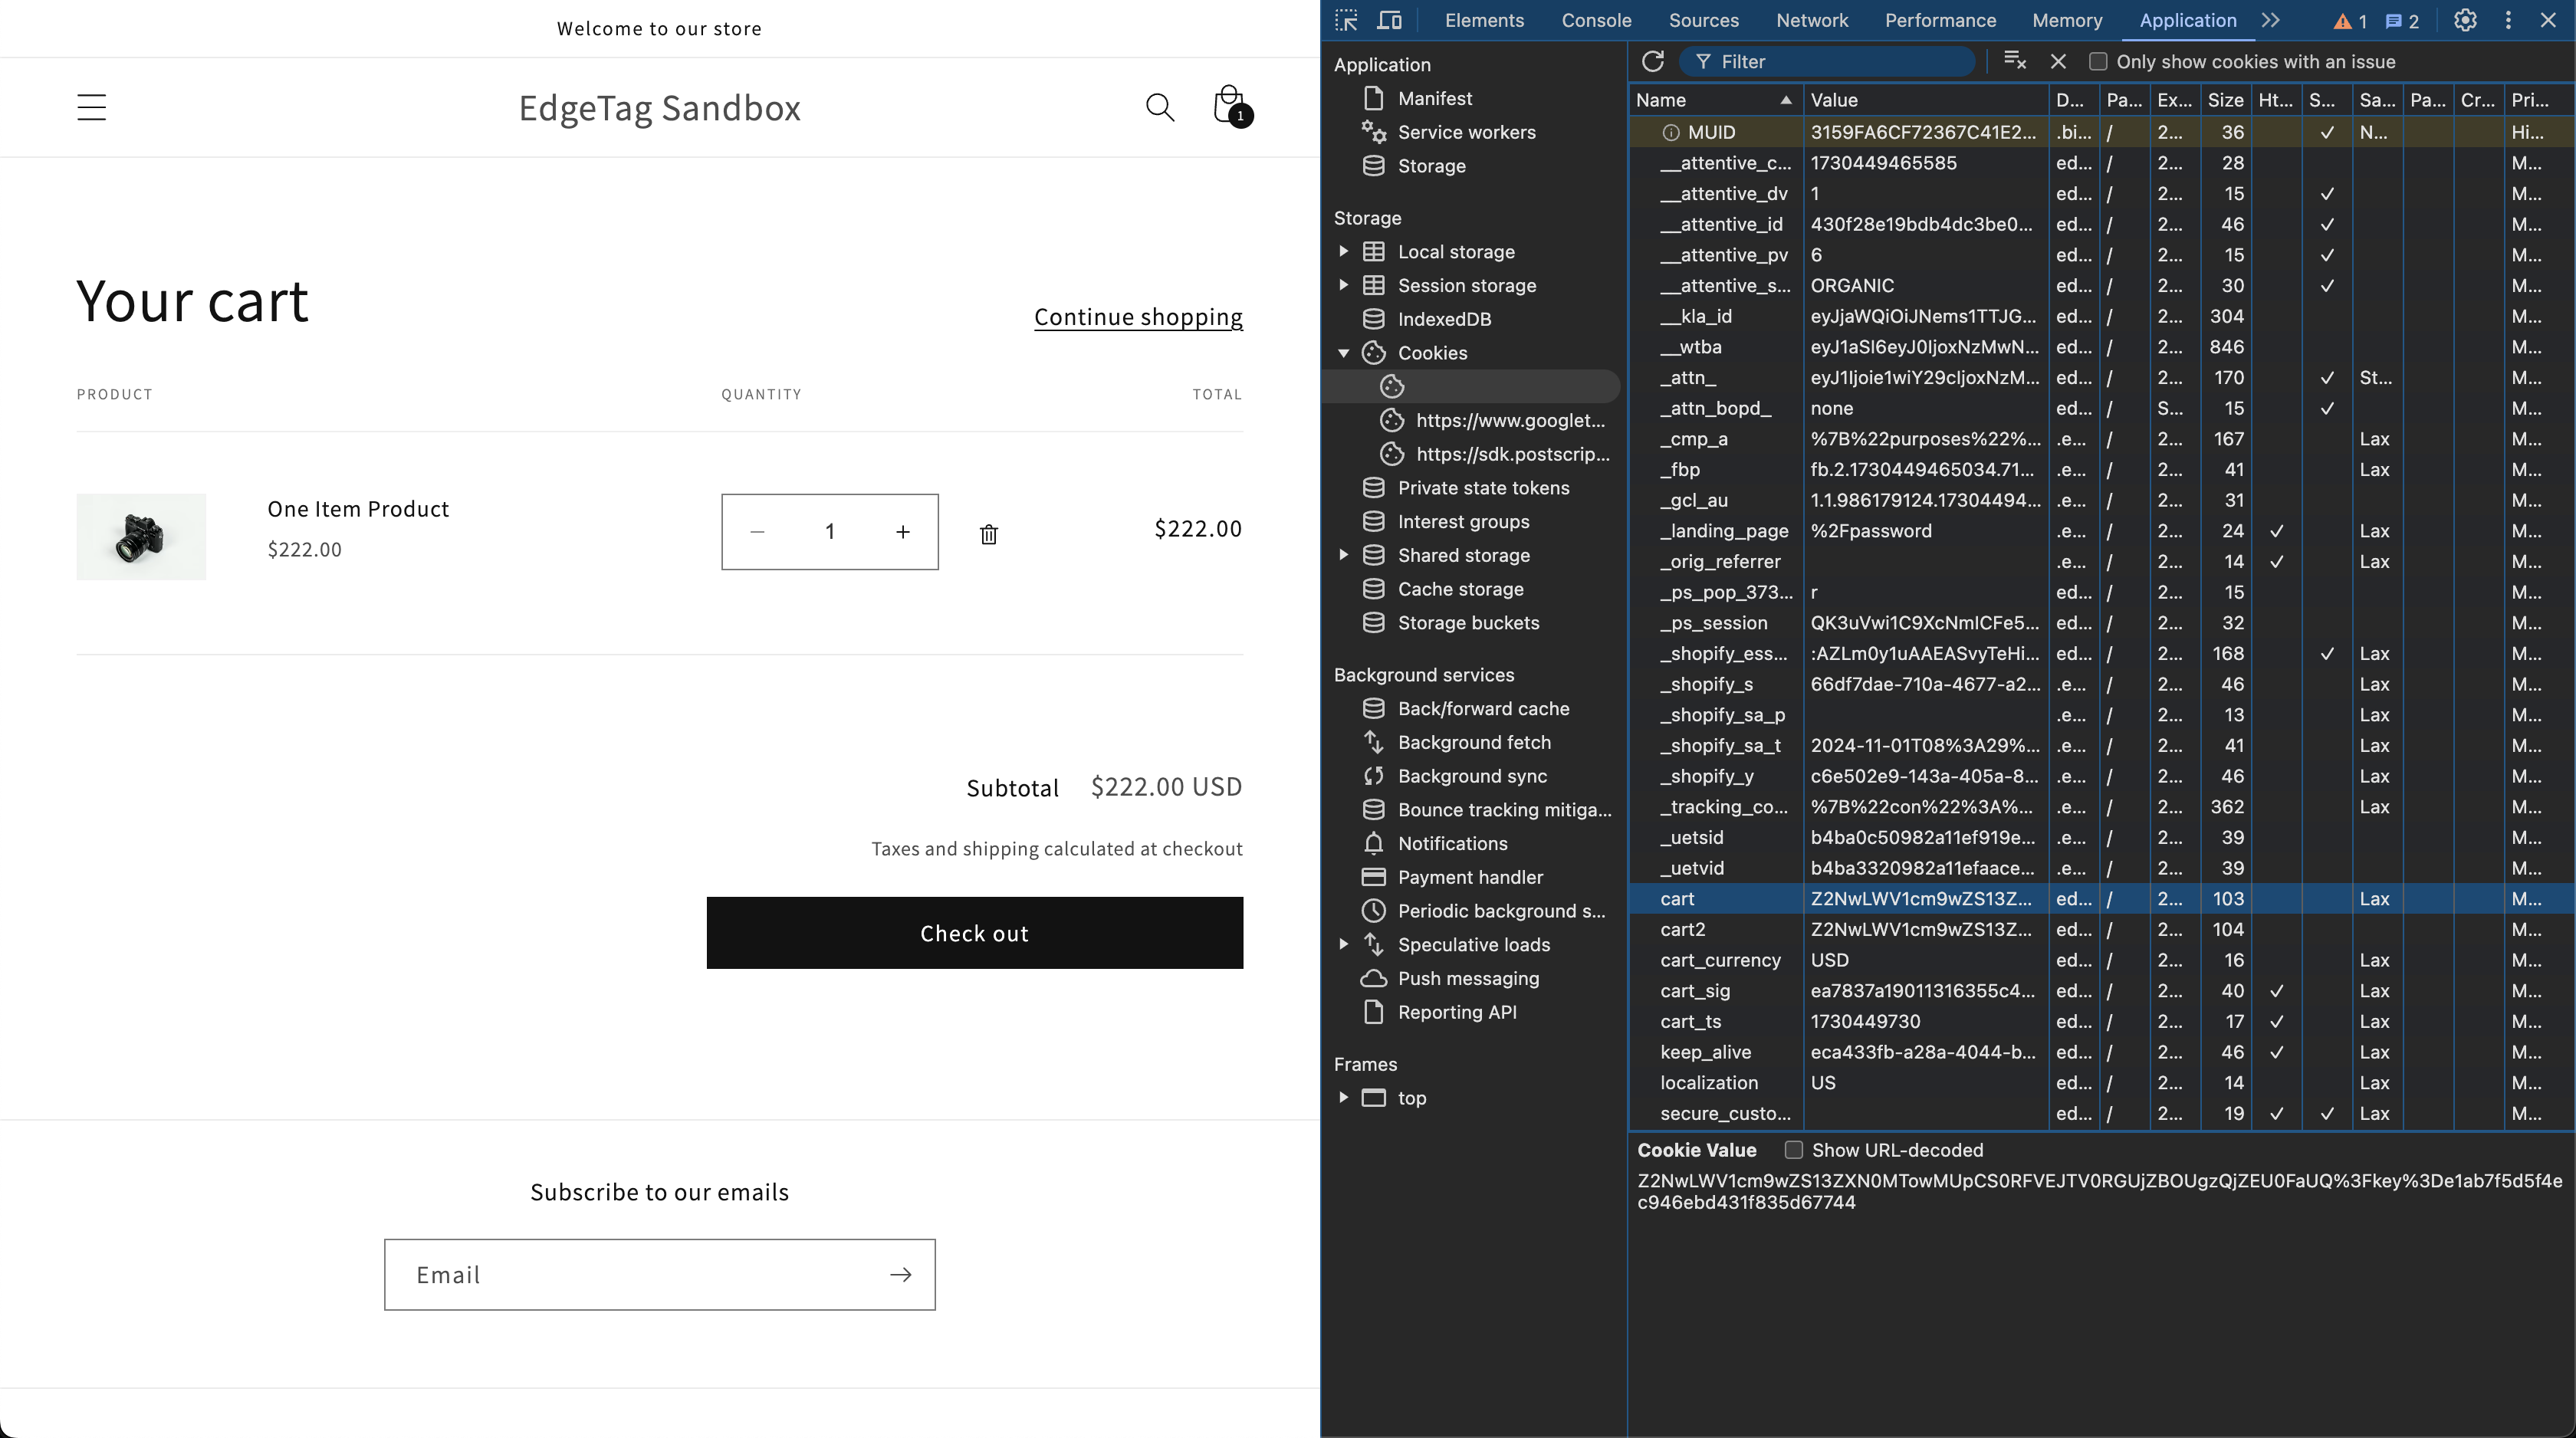
Figure: Identifying the default Shopify cart cookies
Deleting just the cookies with the cart prefix and reloading the page will simulate a customer coming back to the page with the cart cookies expired. On page load, Shop Wallet checks for any previously active carts. If it finds at least one, it will prompt you to recover the last expired cart:
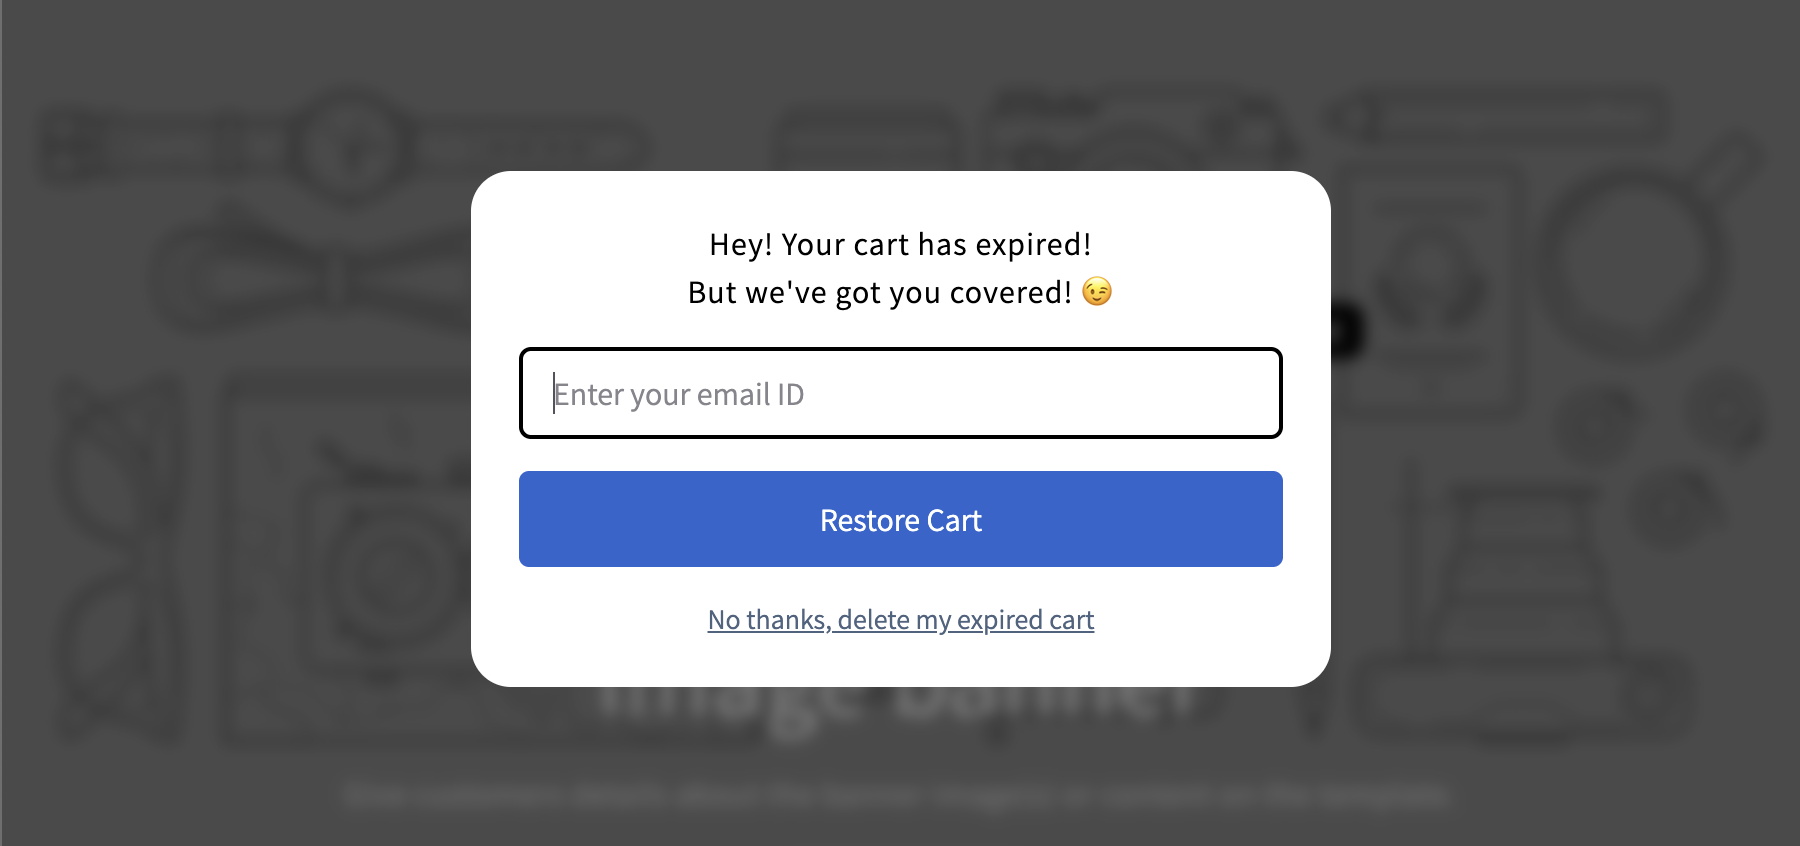
Figure: An example of the default Recovery Popup UI
At this point you can choose to recover or delete the expired cart, which will allow you to test the full functionality of Shop Wallet.
You can read more about customizing our popup on the documentation page.
Customizing the Shop API
The default implementation ships with a store-specific API implementation that provides methods to the popup to interact with the site's cart. It uses the Shopify AJAX API to add items to the cart.
If your site cannot use that endpoint or are using a headless setup, you can provide your own API implementation by overriding the default one supplied by our SDK package:
// This is the global namespace key for Shop Wallet's modules
const registryKey = Symbol.for('blotout-wallet')

if (!window[registryKey]) {
  window[registryKey] = {}
}

// `storeAPIFactory` is the factory method that will be called by our
// SDK and should return a Shop API object
window[registryKey].storeAPIFactory = function (
  fetchImplementation = window.fetch
) {
  return {
    addItems(items, expiredCartId) {
      /* ... */
    },
    getCartToken() {
      /* ... */
    },
    getCheckoutURL() {
      /* ... */
    },
  }
}
The requirements for each of these methods are described in our documentation.
Replacing the Default Recovery Popup
We've updated the the way the default UI can be replaced completely with a custom implementation. Please have a look at the updated blog post to learn more about how to use the new mechanism.
Are you usign Blotout EdgeTag? Try it now
- Ensure you are on an App Pixel
- Email cx@blotout.io to turn on feature
Are you not using EdgeTag? Start for free
- Install EdgeTag
- Feature will be turned ON